FAQs and Known Issues
- Start with a Macro?
- The Macro Selector
- Changing a Macro setting after capture
- The Macro Settings Window
Start with a Macro?
RePitch features a small library of task-orientated Macros (Initial Processing Settings) covering a few common usage scenarios.
It's often entirely possible to get most of your desired tuning results by applying a Macro when you capture the audio, with relatively little further adjustment required.
After capturing a signal in RePitch, you can choose to:
- Manually make all adjustments yourself, OR…
- Let RePitch automatically apply specified adjustments to the whole signal, or a section of the audio.
- Then make further adjustments manually if required,
- Or use RePitch's further automatic processing.
Which options you choose will usually depend on your confidence and experience with the Macros.
The Macro Selector
When you first open RePitch, the Macro selector will look like this:

When you click the area shown above you will see this selection of Pitch ranges first.

You might wonder why?
It's simple:
Setting the Pitch range makes RePitch process faster and its editing sound better.
Also, please note that although we show pitch ranges mainly for vocals, RePitch can very effectively process single-note (monotonic) instruments, from Bass to Flutes. This is discussed later in the topic Pitch Range below.
For now, you only need to select the pitch range of the incoming audio, and then you'll be shown a few Processing options such as the 3 shown below.

Most Macros you create will refer to Snapping Notes to Scales (or not snapping).

|
We will explain how you access and present these scales in a later chapter here. |
For now - we'll describe how to start with you doing all the work and then how to get RePitch to do the preliminary work for you.
Option 1 - You only do manual editing after capturing your audio
If you are familiar with manually editing the pitch and other signal features, you can choose the setting shown below (available for different pitch ranges) and then use the manual (and automatic) editing tools described in the chapters which follow.

However, we also recommend at least trying the two automatic "Snap to Scales" Macro processes described next, as they are designed to save you time in the long run.
Option 2 - Automatically Move (Snap) Notes to Scales After Capturing Audio
We suggest trying RePitch with one of these TWO Macros if you want an automated starting point:

The Macro above indicates that the audio will be analysed to find the best "Measured Scale" match, and then the audio's note blocks will be moved to the detected (Measured) Scale’s note centres with a "centering strength" of 100%.
If you prefer telling RePitch what specific Scale you want the notes tuned to, use the Macro below.

This will use the scale shown in the Scale display area (see example below) which is showing "Chromatic".

The captured audio's note blocks will be moved to the Selected scale’s Note Centres with a "centering strength" of 100%.
As mentioned previously, we will explain how to make the list of scales you can chose from in a later chapter here.
Changing a Macro setting after capture
 |
|
The Macro Settings Window

For the above factory setting, you will see this:
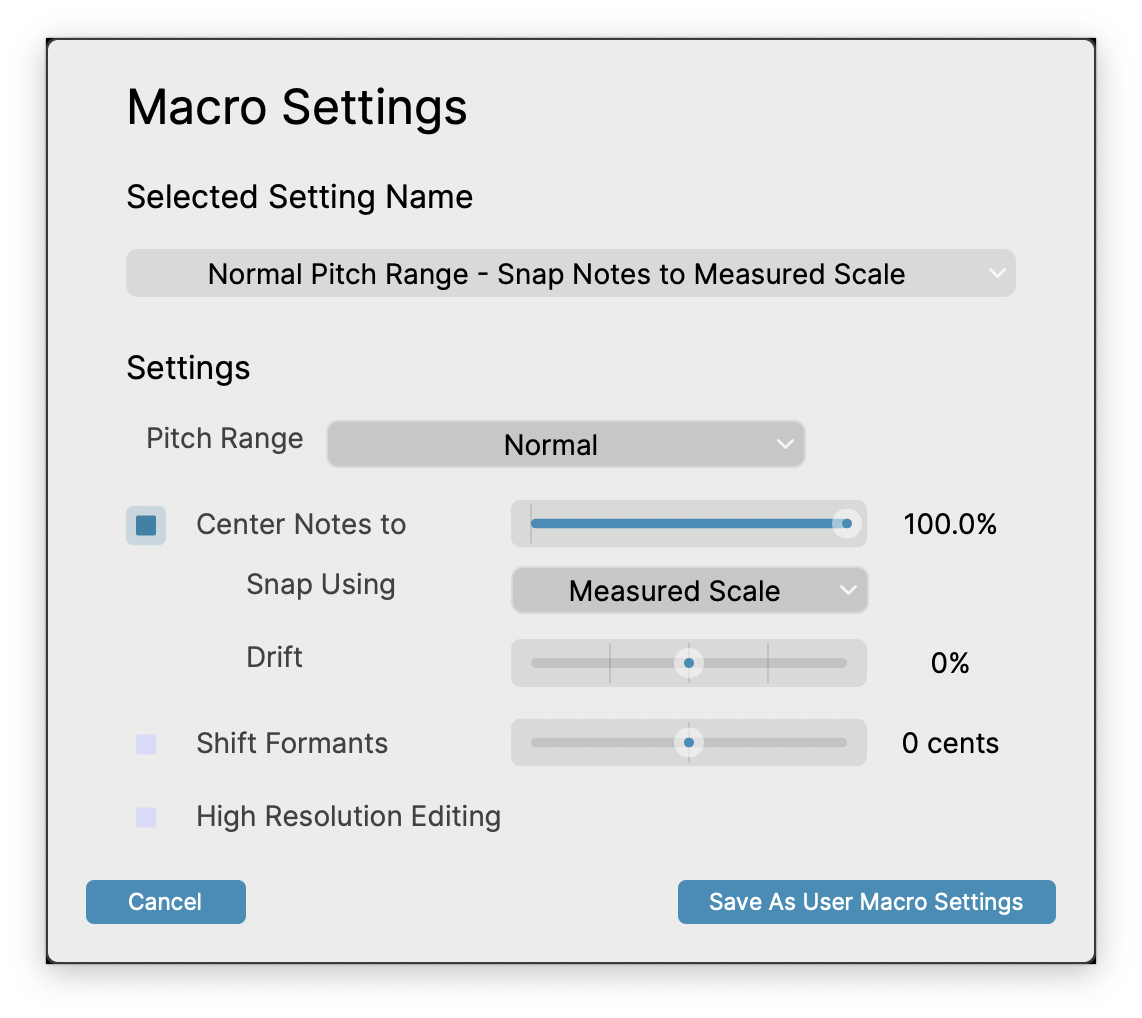
This menu is useful for inspecting the settings and also changing them to create your own USER Macros, which will be shortly be described below.
We first will explain the items in the window.
Macro Settings Descriptions
| Setting Name | Purpose |
Pitch Range | Used to select the range of the audio frequencies analysed to save processing time. You can set whether the input signal is in a low, high or normal voice, or a high, bass or normal instrument range. See further detail below. |
Center Notes to | The slider sets the "note centering strength" where 100% means "Snap" i.e. move the note block's measured average frequency to the defined frequency of the nearest Measured or Selected scale, depending on the "Snap Using" selection. 50% means move the note halfway towards the nearest defined scale note frequency and 0% means do not move the note. |
Snap Using | If set to "Measured Scale", the target scale for moving notes to is defined by the best "guess" of matching a histogram of the measured notes' frequencies to an extensive selection of existing scales.
|
| Shift Formants | If ON, the Formants (i.e. resonant frequencies related to acoustical properties of the sound creation mechanism) will be shifted up or down by the number of Cents shown. |
| High Resolution Editing | Turns On or Off extra processing for improving editing of high-pitched audio. This is mainly helpful in editing more "pure" tonal signals such as high female voices, flutes, bell sounds and so on. |
User-created Macros
The user can modify any of the Macro control panel settings and save these choices as named User Macros. We will step through this simple procedure next.
Let's say we have recorded a Bass Guitar and want to manually adjust some notes in the recording.
We can select a Pitch Range = Bass Instrument and turn off Center Notes to, and also keep "Selected Scale" to be displayed.
The window would look like below but the old Macro Name is present.
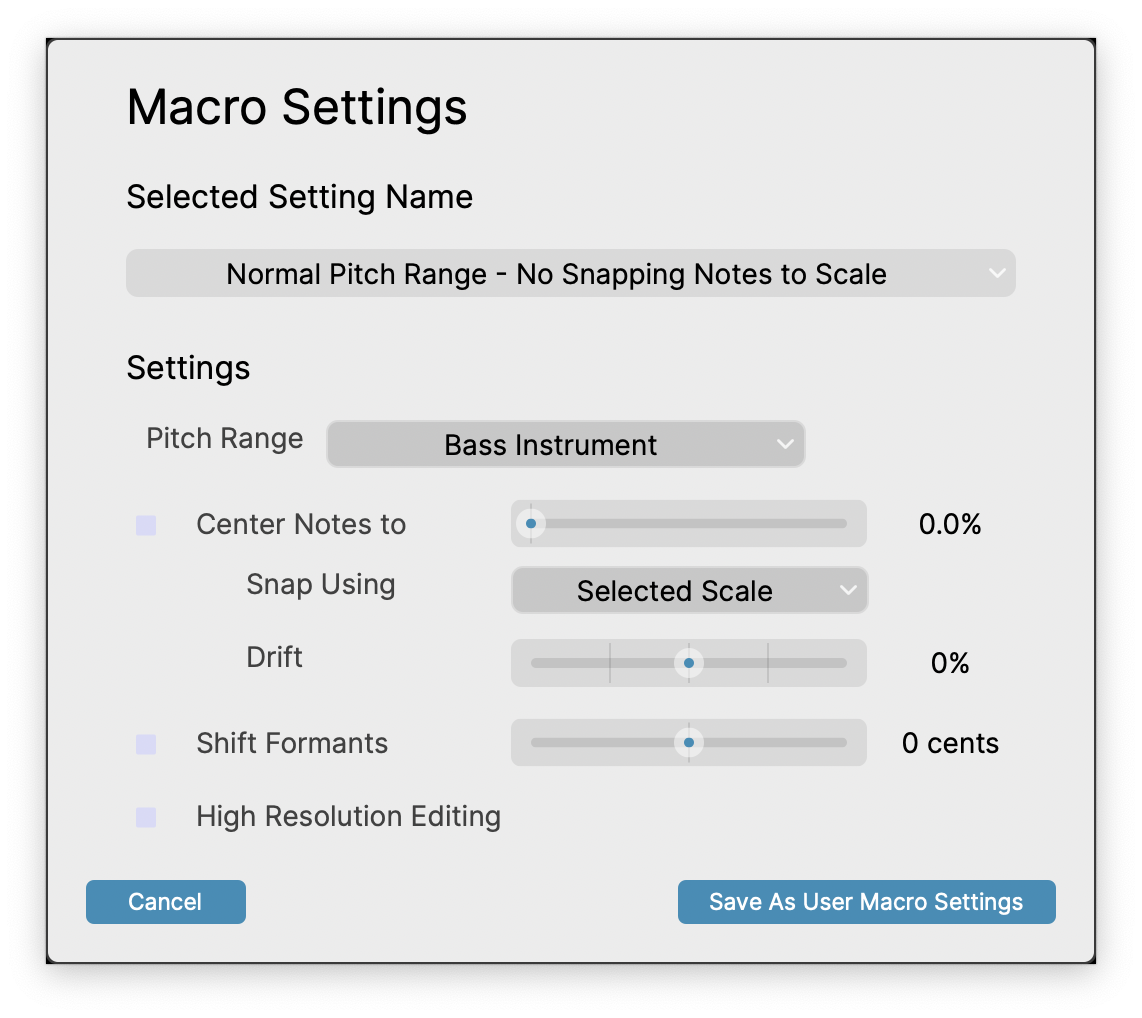
Pressing the Save as User Macro Settings button will bring up a window like this (on Mac OS and similar for Windows)
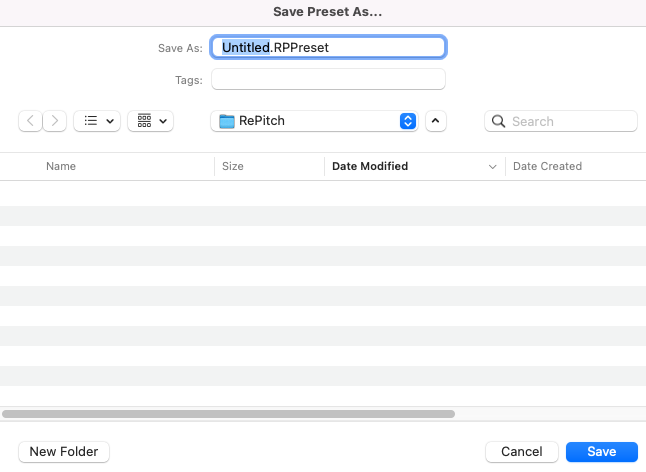
We can now create a new name to indicate the distinctive purpose of the settings.
For example, "Bass Guitar - Manual Editing" as shown below:
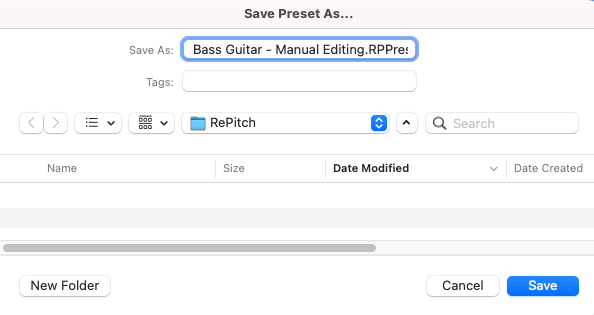
Now click Save and the information will go into the "User" Macro directory .
To access this, click the Macro name switch area, which in this example is still this:

and the following should be seen with the "User" directory at the bottom:
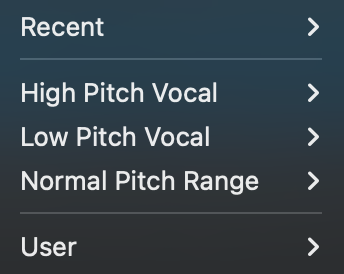
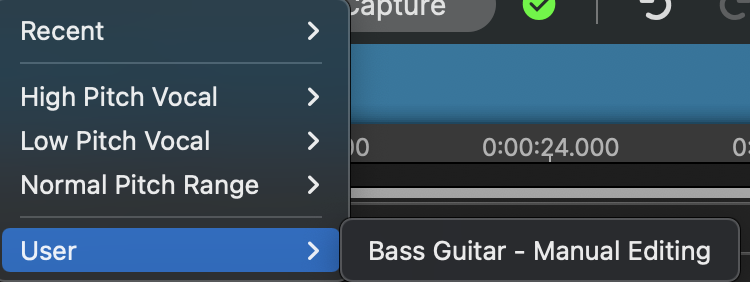
If you click on User you will see the Macro you have just created and you can select it:
If you have already loaded audio with another Macro, you will see this message:
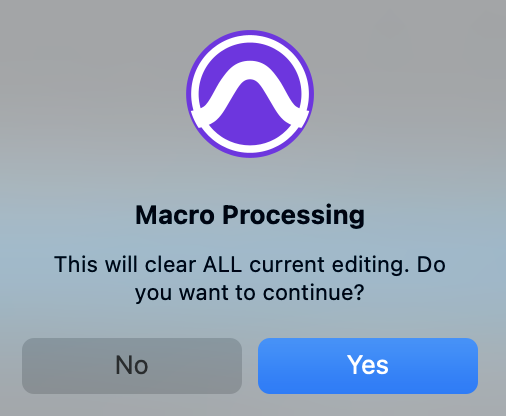
You can click Yes or No. Either way the Macro will be loaded for the next Capture as shown in the picture below, BUT, if you chose Yes, then any manual editing you have done will be removed and you will start editing with the original audio.

Managing User Macros
User Macros can be renamed or deleted by clicking  and then clicking in the Macro Setting Name which in this example shown below is "User - Bass Guitar - Manual Editing"

This will bring up the menu window below
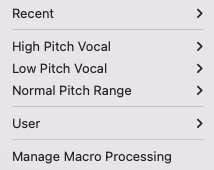
Clicking Manage Macro Processing in the menu above will take you to the RePitch User Macro directory, which in this example will look like this on a mac.

The computer's directory system will let you Rename or Delete the User Macros you create.
Other Macro Menu items
The Recent fold-old out menus will depend on what Macros you have chosen recently.
The User fold out menus will reveal what Macros you have created.
Pitch Range
Set this to the most appropriate option for your source material to optimise the editing algorithm.
Choosing a range allows the editing processes to be faster and more accurate.
- Normal: (60 to 850 Hz) - The default ‘general purpose’ setting, for spoken word, vocals in non-extreme registers and the majority of single pitch instruments.
- High Pitched Vocal: (60 - 1200 Hz) - Sung vocals in ‘higher-than-average’ registers.
- Low Pitched Vocal: (40 - 850 Hz) - Sung vocals in ‘lower-than-average’ registers.
- High Pitched Instrument: (60 - 4,000 Hz) - High-frequency-dominant (single pitch) instruments such as violin, flute, lead guitar, lead synth, etc.
- Low Pitch Instrument: (25 - 850 Hz) - Low-end (single pitch) instruments such as electric and acoustic bass, cello, bass synth, etc.