In many cases, the way Revoice Pro works will mean you can bring long audio signals into Revoice Pro and not need to edit the waveforms. You can, in effect, create edits by inserting several Process Control Blocks to start and stop at specific points in each track of the input audio waveforms. This is usually the most effective and efficient way of working.
There are situations, though, in which it is helpful to edit audio waveforms in Revoice Pro and this section explains the range of waveform editing operations available.
Related topics:
Process identification in multitrack sessions
Select a waveform for editing
Because Revoice Pro supports editing of either the process controls or the waveforms in the same track, sometimes you must switch Revoice Pro from Process Editing to Waveform editing. There are several "one-click" ways to do this.
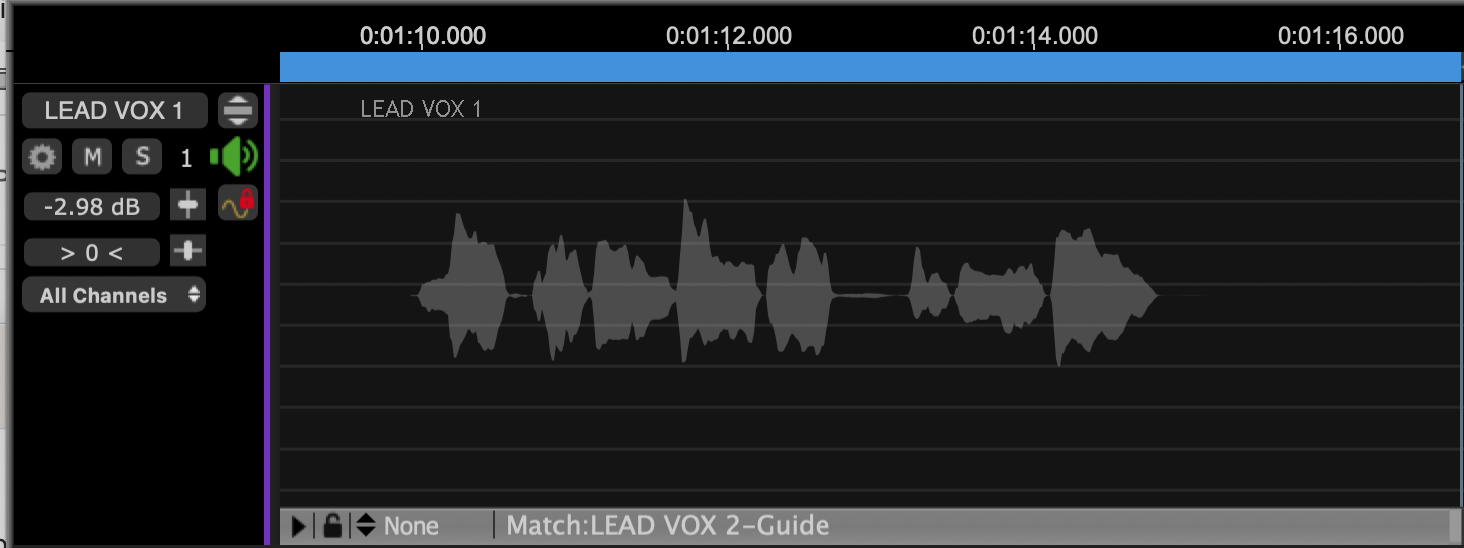
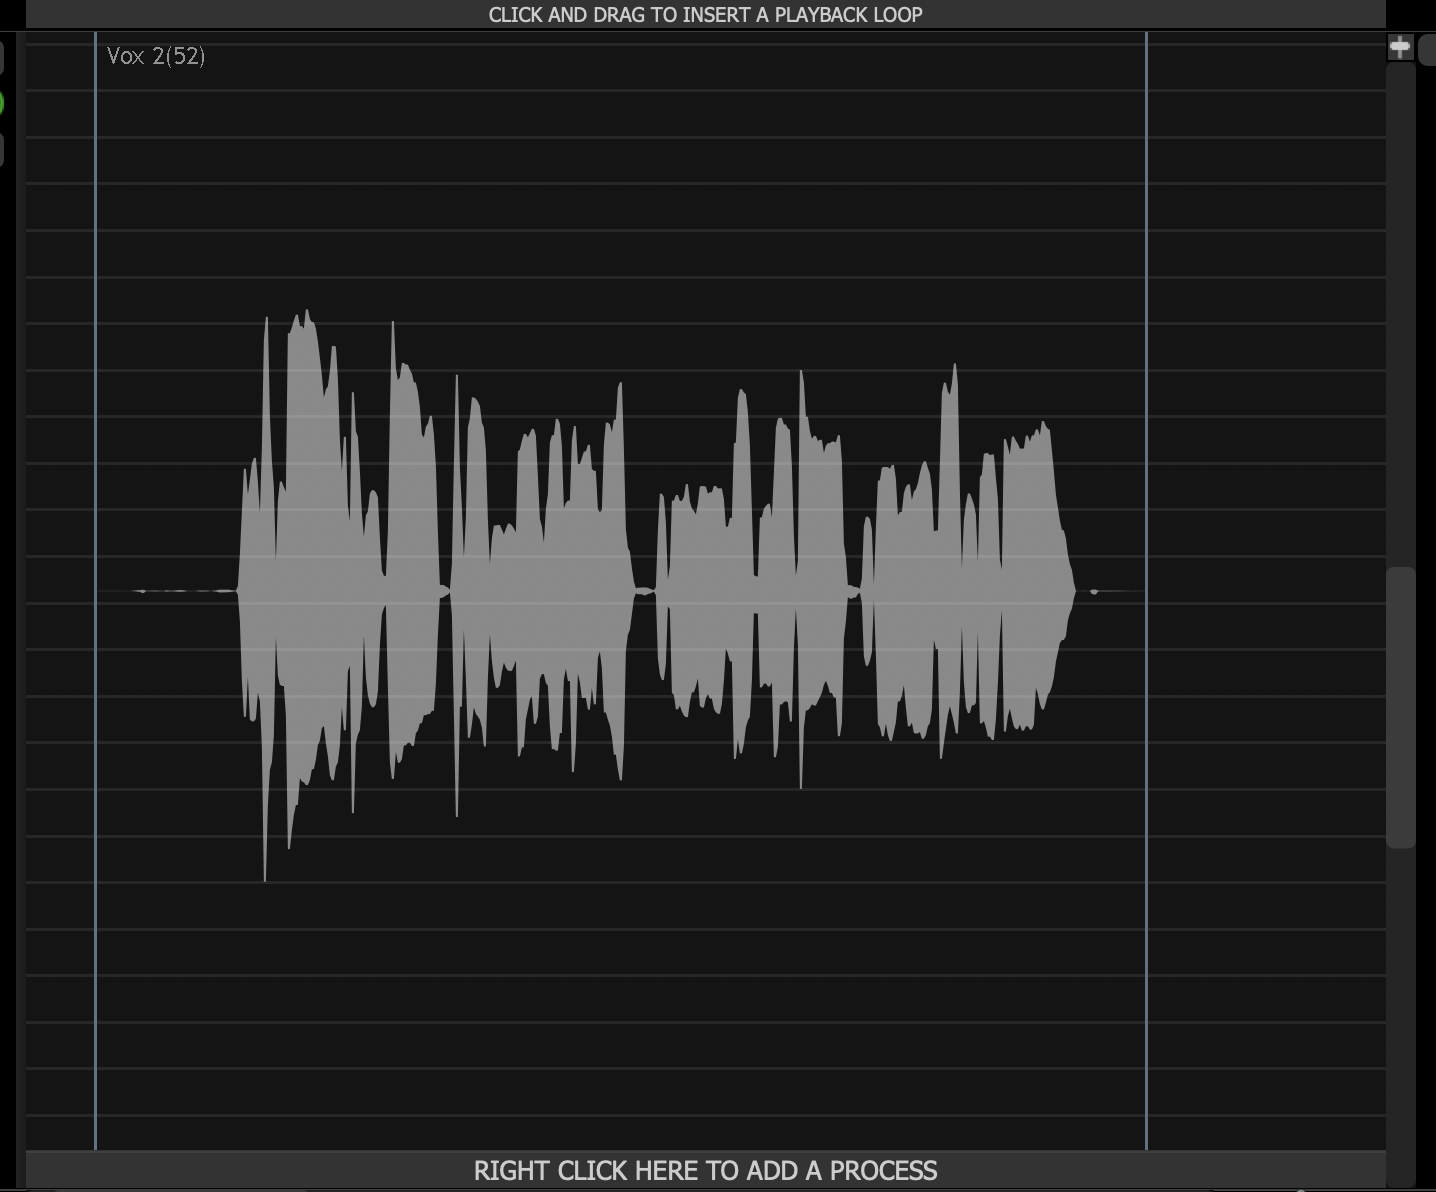
In many cases, a waveform is selected for editing by just left clicking it once, and it will be displayed in light grey indicating it is selected. The image on the left below shows an unselected audio waveform, and the image on the right shows a selected audio waveform. In both cases, the Match Process in their Process tracks at the bottom of the image is greyed out to show that it is not selected.

Once a waveform is selected, then two familiar types of editing are available: screen-based and menu-based.
Selecting waveforms in process editing mode
If the user is in a Match Process Editing mode, then left clicking a waveform will not select it. You must first switch that mode OFF before a waveform can be selected for editing. Either:
- Hold down CMD key on keyboard and left click on a selected (blue) Process Control Block to de-select that Process.
or
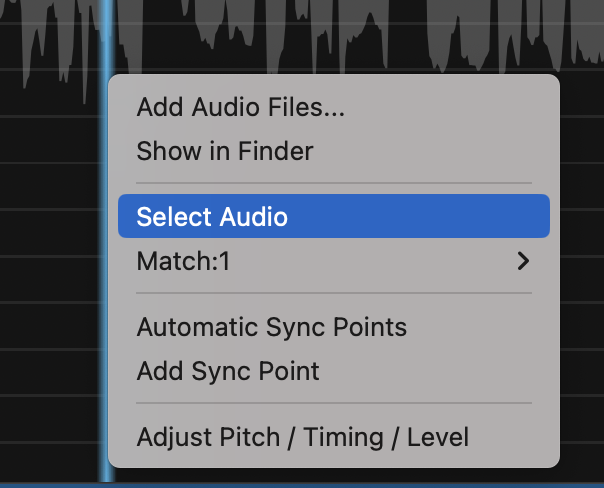
- Right click in a waveform area and select the 'Select Audio' menu item as shown below in blue.
Either will exit the Match Process Editing mode and turn formerly blue Process Control Blocks grey, indicating that mode was successfully turned off. You can then click on waveforms to select and edit them.
Click and drag waveform editing
Audio regions can be edited within Revoice. Regions can be trimmed for their start or end, and they can be moved to reposition them in time.
To trim a waveform, position the cursor at the end of an audio region, shown by a thin blue line. Left click and hold, then drag to adjust the regions start or end. Regions cannot be made longer than their original file length.
To move an audio region left or right, left click and hold near the centre of the region, then drag the region to the desired position. Audio can also be dragged to another Revoice track if required.
Menu-based waveform editing
If no process has been assigned to a waveform, a RIGHT CLICK on a selected waveform will pop up the waveform editing options window, shown to the right for macOS.
If you have positioned the Playhead at a useful point before bringing up this window, then the three (self-describing) menu options can be used either to shift the selected waveform's start or end, or split it into regions.
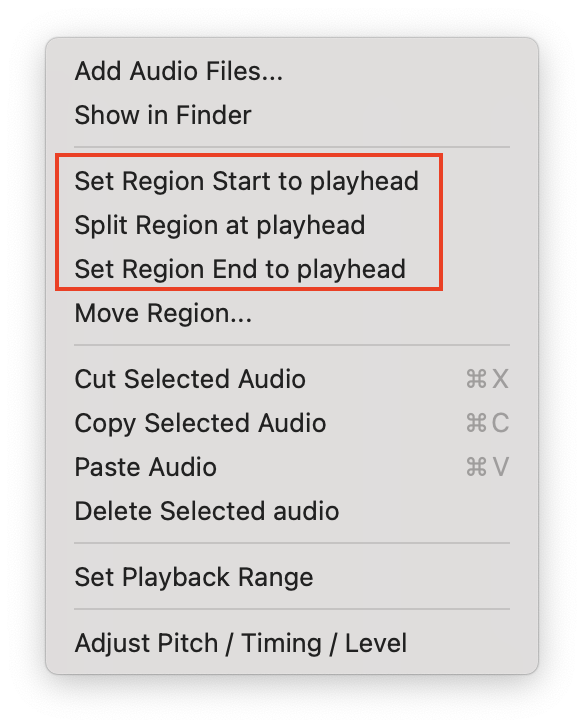
A further group of "standard" menu options allow the entire selected waveform to be Cut, Copied, Deleted or (if a prior operation copied a waveform and "Paste Audio ..." is not greyed out), the copied waveform can be Pasted to start at the Playhead.
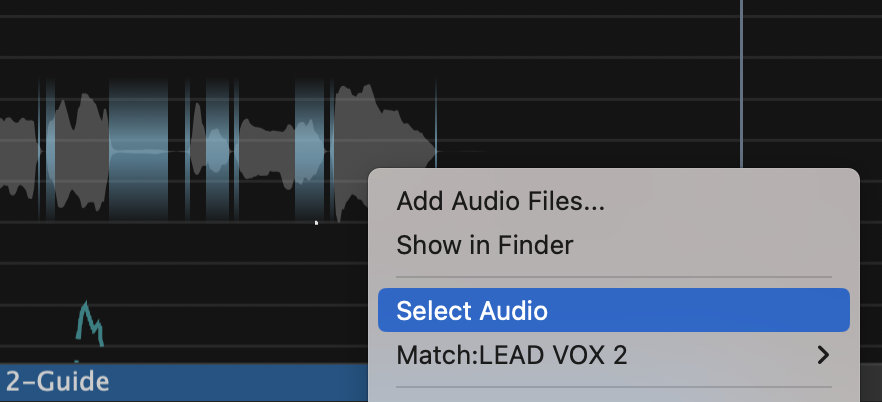
If you do not see these menu items, it may be because you have an active and selected Process on this audio region. In order to Select the audio region and see these options, right click the region and select the 'Select Audio' menu item as shown below.