Managing groups
Creating a new Group
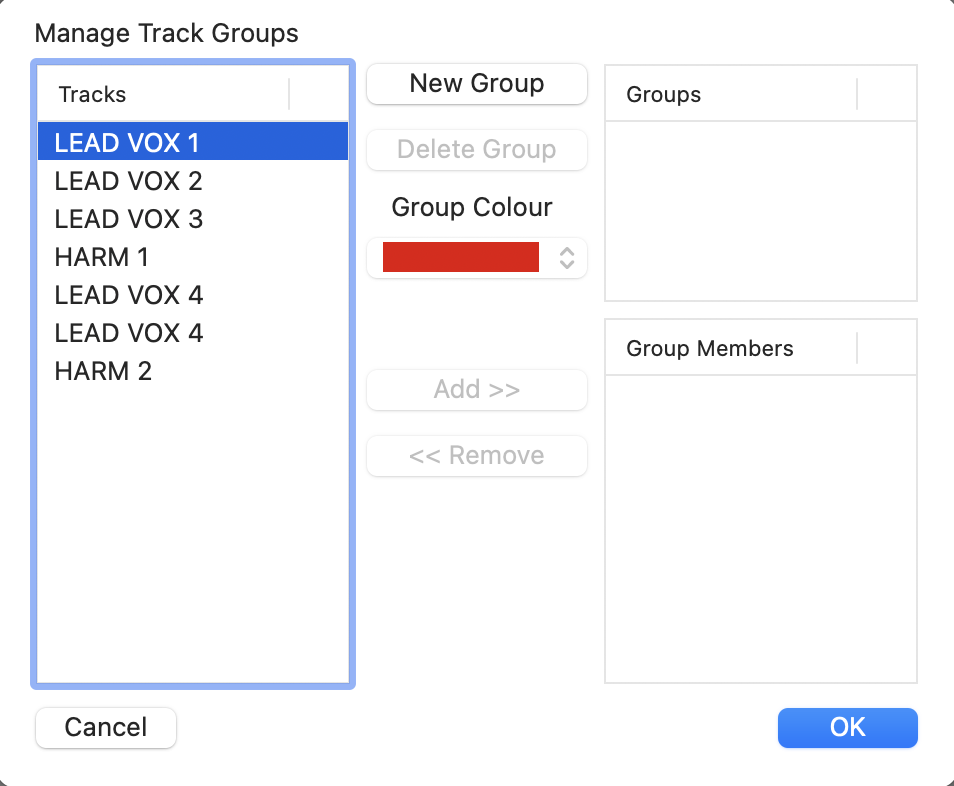
Select the top menu item Tracks > Manage Groups.
A window similar to that below will appear:
Adding Tracks to Groups
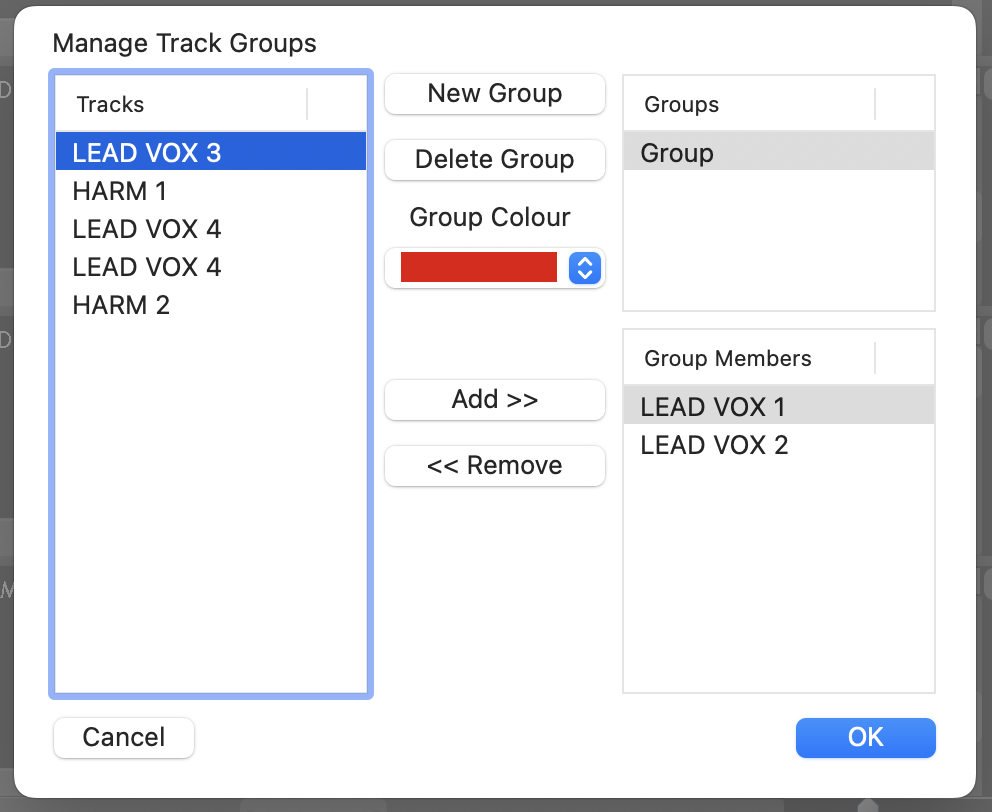
Highlight the group name in the Groups window top right. Highlight tracks in the list on the left by clicking them (shift or command/ctrl click to add to the selection), and press 'Add >>' to put them in the group selected. In the example below, the first two tracks from the track list shown above have been added to a single group. You can choose a colour to identify the group from the Group Colour drop down.
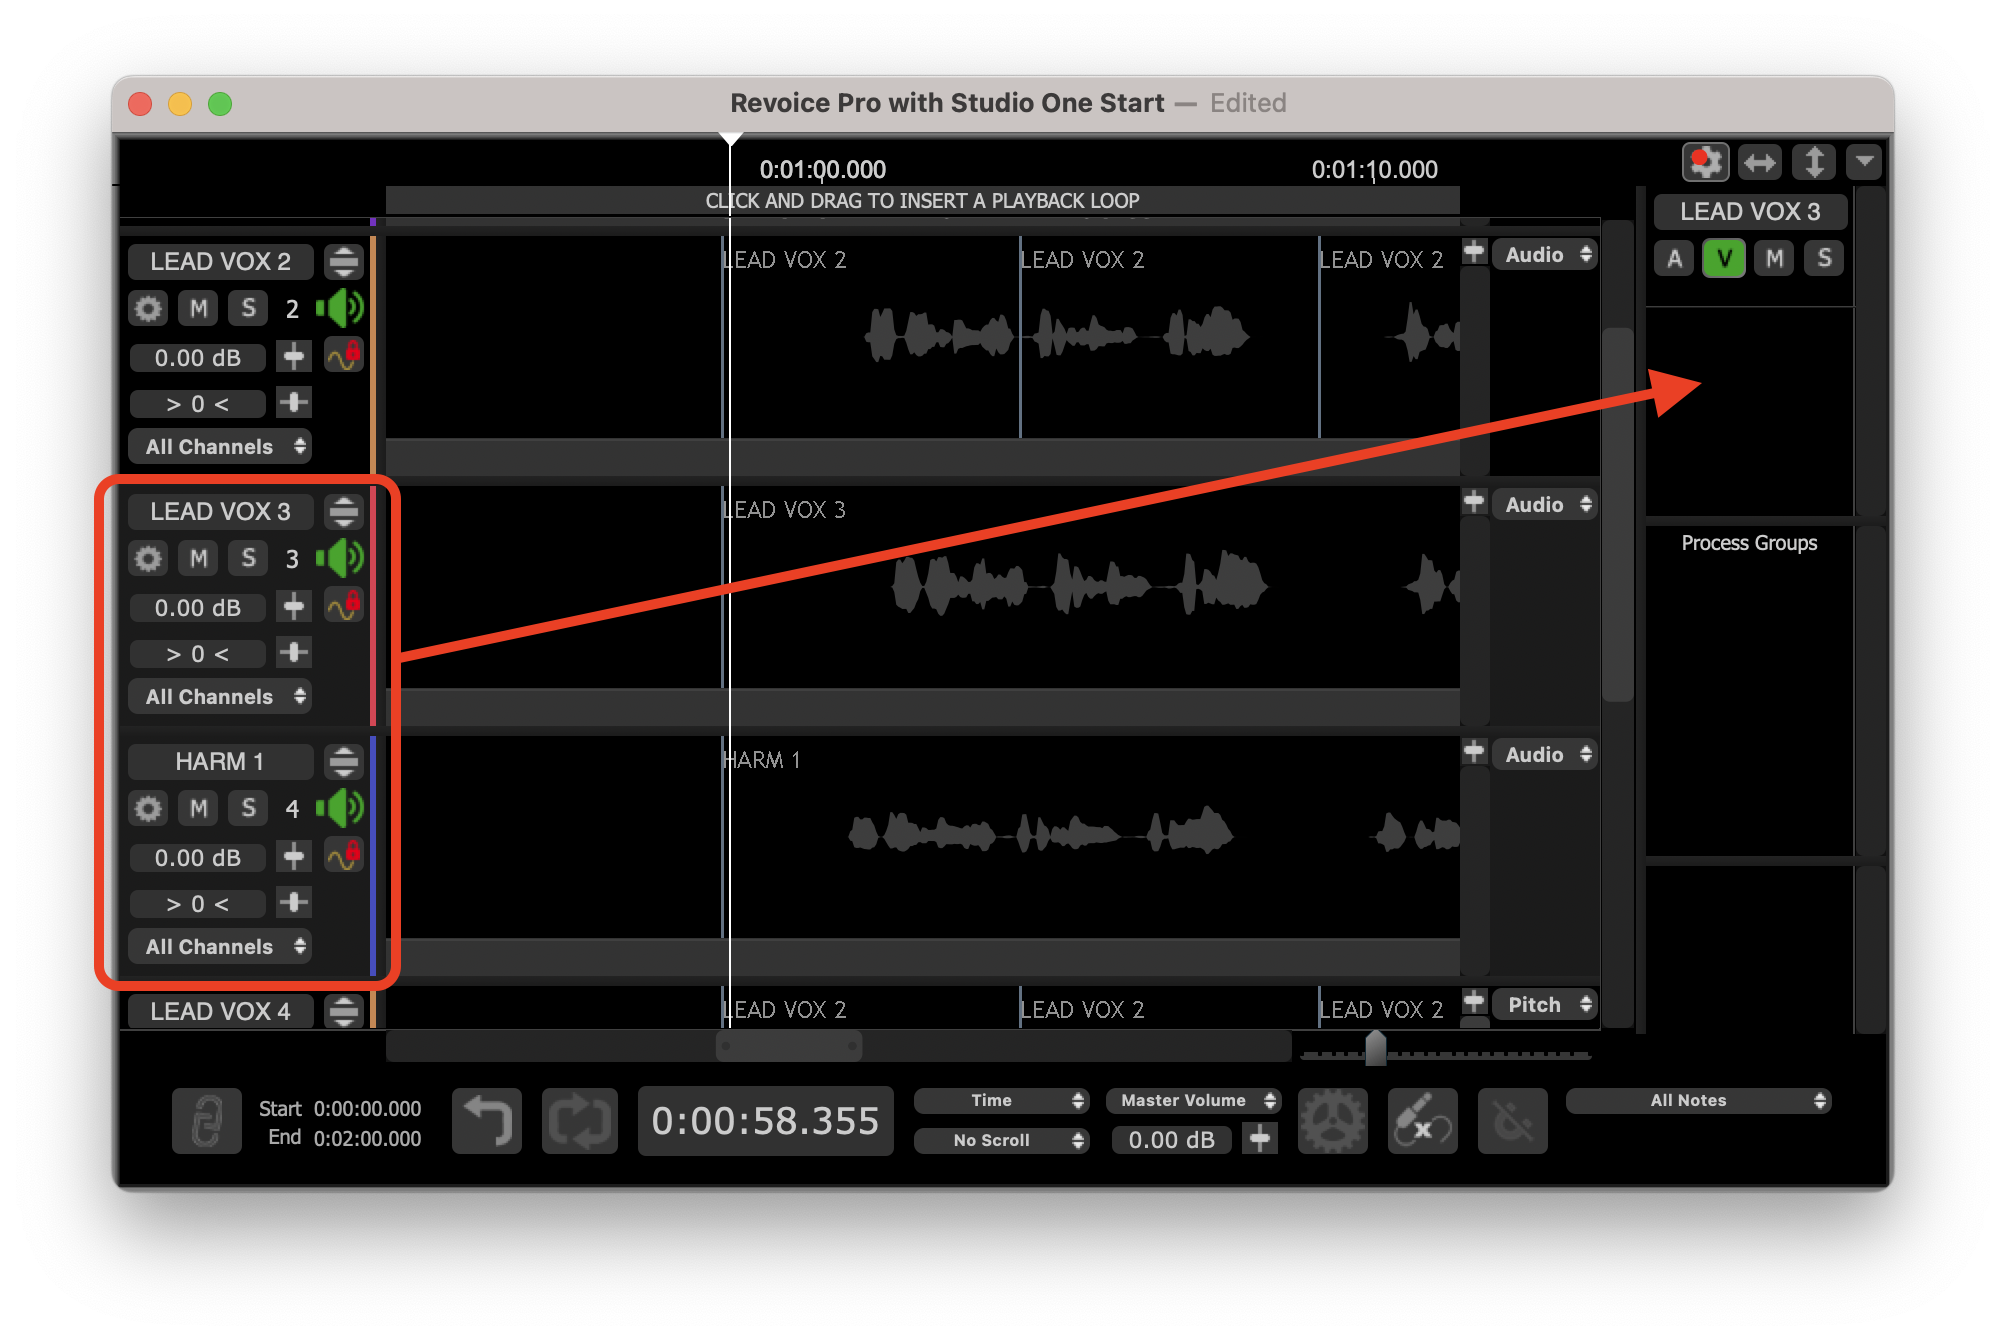
Alternatively, you can select multiple tracks (by left-clicking the first one in its control panel at the left of the Revoice Pro window, then shift-clicking others) and drag them to the Track Groups area at the top right of the Revoice Pro application window as shown below.
Removing Tracks from Groups
Tracks can be removed from a group by selecting the group name in the Groups window top right, highlighting the tracks concerned in the Group Members list below it, and clicking <<Remove.
Deleting Groups
A group can be deleted by highlighting it in the Groups list and pressing Delete Group.
Naming Groups
You can name a group by double clicking on its name in the Groups list and typing. (This can also be done by typing in the group name above the group controls on the main Revoice Pro window, shown below.)