Inserting a Playback Range
Audio setup, monitoring and playback » Playback range » Inserting a Playback Range
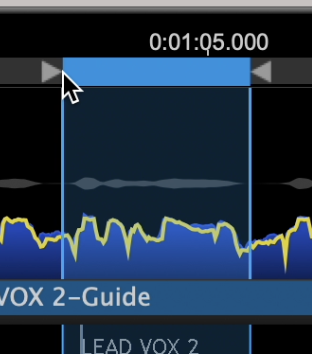
To set a Playback Range, click and hold down the Left Mouse button in the Playback Range Track and drag cursor to the right (or left) to create the Playback Range - shown in the picture below as the blue bar with inward pointing arrows on either side.
The resulting Playback Range block can be adjusted by clicking and holding the left mouse boutton on either inward facing arrow and dragging to the desired start or end locations.
By clicking and dragging in an empty area of the Playback Range track, a new playback range will be created, replacing the previous range.
Playback Ranges can also be created by
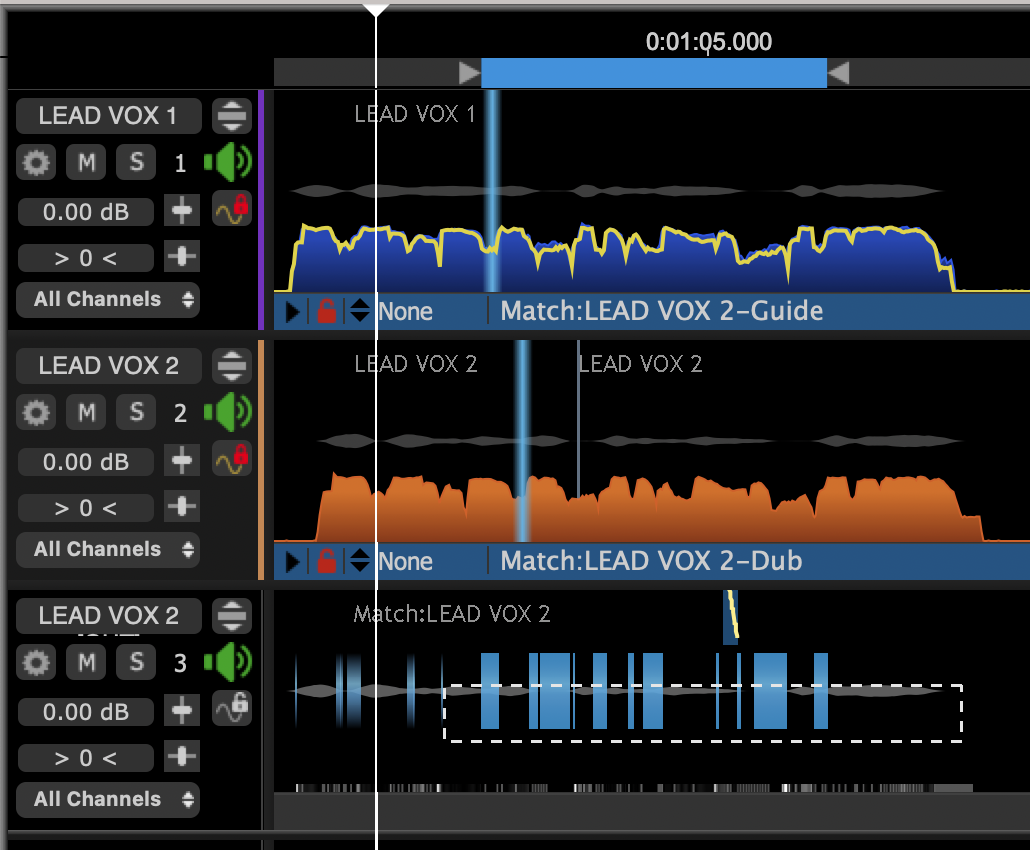
A Playback Range can also be inserted by highlighting a group of notes or pitch blocks in Adjust or Match output displays and pressing the Y key on the computer keyboard.