Tutorial
This tutorial guides you through the use of VocALign in easy stages, so that you can learn about how it works and how best to use it. It uses prepared audio files that can be downloaded from the Synchro Arts website. You will learn how to:
• Select the Guide and Dub audio that will be processed in VocALign
• Use VocALign to create an Aligned (synchronized) Dub and audition it
• Use some of the controls and keyboard shortcuts
• Save the Aligned Dub audio
For a detailed guide to the controls and display see Section 7. For further tips on effective and advanced operation see Section 8. For use with Digital Performer see Section 9.
Step 1 Obtain the tutorial audio collection
The audio material for the tutorial session can be found by going to www.synchroarts.com and locating the Downloads page. In the Tutorials and Sample Audio section of the Downloads page, locate and click on the link WAV audio collection for "Stand alone" to download a zipped folder of the tutorial material to your computer. Unzip this and copy the folder ‘TWITDEMO’ contained therein to a suitable location on your computer’s hard disk. You will need the files ‘STEVEGUI.WAV’ and ‘TWITDUB.WAV’.
Audio files for use with this version of VocALign can be AIFF or WAVE (including Broadcast WAVE) format, at sampling frequencies between 44.1 and 192 kHz, and with resolutions from 16–24 bits. The Guide and Dub audio have to be at the same sampling frequency and resolution as each other, but can have different file formats.
Step 2 Open VocALign
Locate the VocALign application on your computer (it will be wherever you installed it), ensuring your iLok is in place and that you have a license. Double click the VocALign icon to open the application. The application window will open as shown in Figure 6-1. Size the window according to your needs by dragging on its bottom right-hand corner.
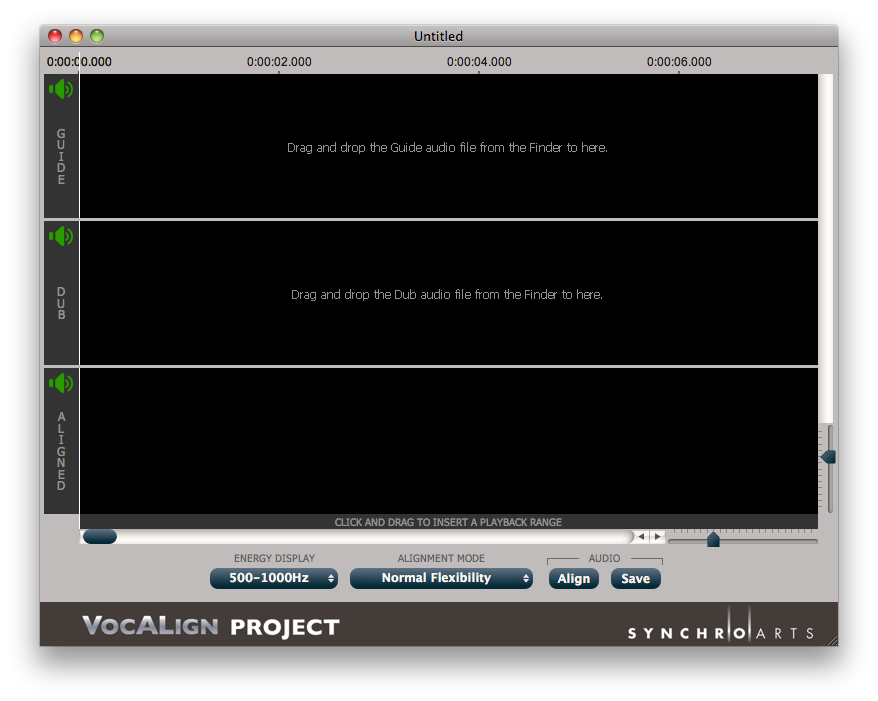
Fig. 6-1 Vocalign window before audio capture
Step 3 Load the audio
Drag and drop the audio file named STEVEGUI.WAV onto the track labelled GUIDE in the VocALign window. The window should now look as shown in Figure 6-2. (The Guide track should always contain the correctly timed audio material to which the ‘Dub’ audio will be aligned.)
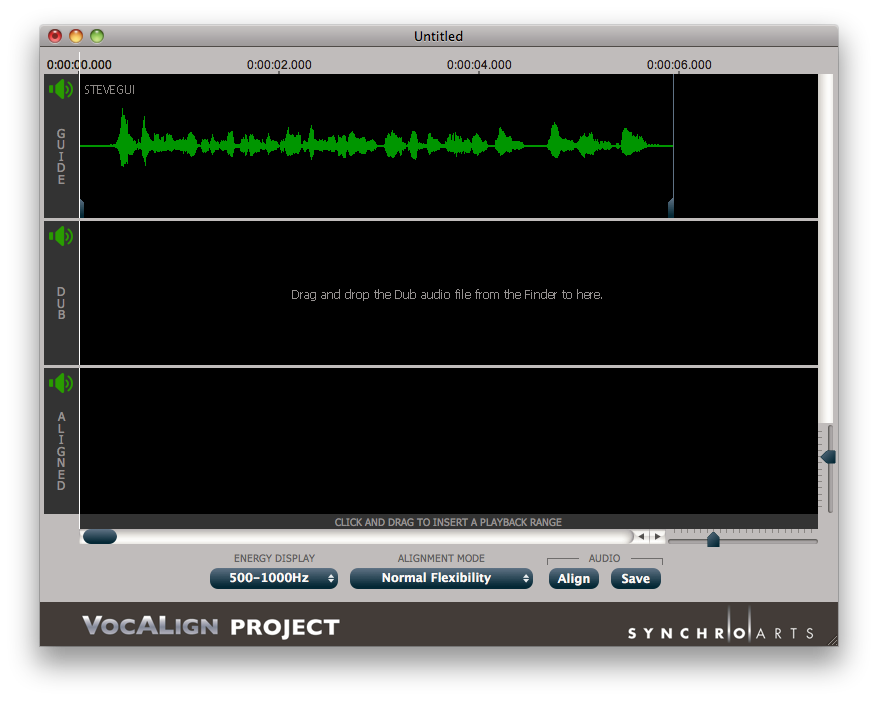
Fig. 6-2 VocALign window after the tutorial Guide audio is loaded
Drag and drop the audio file named ‘TWITDUB.WAV’ onto the track labelled DUB in the VocALign window. The window should now look as shown in Figure 6-3. (The Dub track should contain the incorrectly timed audio material that will be processed.)
You may need to adjust the size of the window to fit the displayed material to the visible area. Alternatively you may scroll horizontally or zoom using the controls below the ALIGNED track
TIP: Use Command-Delete to delete a selected waveform from VocALign.
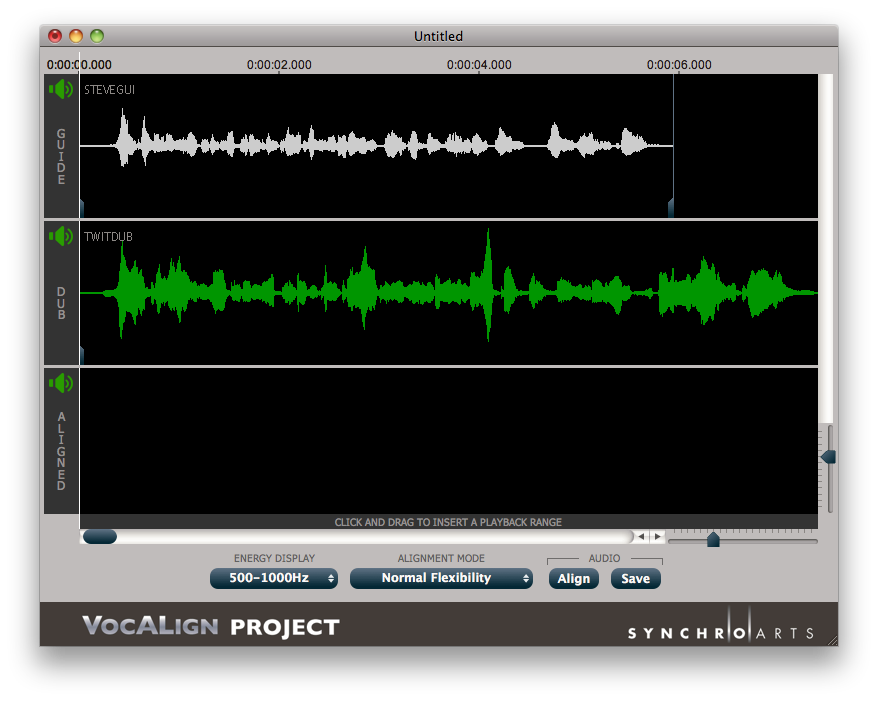
Fig. 6-3 VocALign window after the tutorial Dub audio is loaded
Back to Index
Step 4 Enabling audio tracks for replay
To enable an audio track for replay, the loudspeaker icon above the track name has to be green. Click on the loudspeaker icon to change its status. If it is red the track will not be replayed, as shown in Fig. 6-4.
TIP: There are also keyboard shortcuts to control this, as detailed further in Section 7. The keys ‘g’, ‘d’ and ‘a’ solo the Guide, Dub or Aligned tracks respectively. The number keys 1, 2, 3 also mute and unmute the respective tracks.
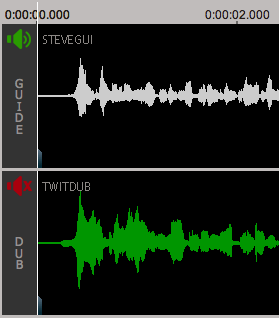
Fig. 6-4 Loudspeaker icons above the track title indicate whether the track is enabled for replay (green) or not (red)
Step 5 Play the enabled tracks
Double clicking in any waveform window will position the “Playhead” (the vertical white line that spans all the tracks) at the time position of the cursor. Alternatively, pressing the Up Arrow or Down Arrow keys will step the playhead backward and forward (respectively) through time-related events in the timeline.
Playing
Pressing the keyboard SPACE BAR will toggle the start and stop audio playback from all playback-enabled tracks.
Scrubbing
Centring the mouse cursor over the Playhead (preferably in the timeline at the top of the window) will change the cursor to a Scrub Cursor (double arrows). To scrub the playback, hold down the left mouse button and move the mouse left and right (or use equivalent actions on other input devices).
With other devices, instead of using the scrub cursor, you can scrub by pressing the ALT key and "swiping" (moving your finger) left and right on the surface of an Apple Magic Mouse or on a trackpad, using ALT plus moving two fingers left and right.
IMPORTANT NOTE: For clarity of auditioning, VocALign playback is set to have mono Guides panned left, and mono Dub and Aligned tracks panned right. Also, the outputs are set to –6dB to avoid clipping.
Step 6 Adjust the start and end points
If required, adjust the start or end of the Guide or Dub audio so that the sections to be aligned are roughly similar in terms of content. This is done by clicking on the waveform concerned, then hovering the cursor over one of the blue marker lines that are located at the beginning and end of each waveform. You can drag the marker to the desired start or end point. You may have to scroll to the right in the VocALign window in order to see the markers at the end of the waveforms. An example showing the start points appropriately adjusted for the tutorial material is shown in Figure 6-5. (The last adjustment or load of an audio waveform can be undone by pressing Command-Z or selecting Undo (File menu). You cannot undo audio processing.)
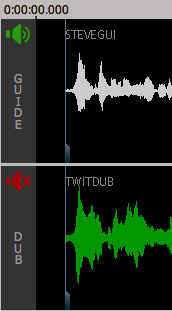
Fig. 6-5 The blue markers at either end of the waveforms can be moved to adjust the start and end points of audio material that will be processed
You can also adjust the time position of the entire Guide or Dub audio waveform by dragging the entire waveform left or right. You might need to do this to ensure that they start roughly synchronously.
TIP: Try to ensure that the start of the audio selection is in ‘audio silence’ (which should be low level noise within an audio file) for about 0.25 seconds before the main waveform energy appears. Ensure that the end of the selected audio is at the desired stopping point.
(The tutorial example will work without adjusting the start or end points, or changing the timing, but you can experiment with this if you like.)
Back to Index
Step 7 Prepare the settings for alignment
For this tutorial, ensure that the Energy Display is set to 500–1000 Hz, and the Alignment Mode to Normal Flexibility. These settings can be adjusted to suit the material in question, as described in Section 8, but these are the default settings.
Step 8 Align the Dub audio
Clicking Align works out an appropriate alignment between the energy pattern of the Dub track and that of the Guide track. You will now see a yellow trace superimposed on the Guide audio track’s energy pattern (shown in blue in Figure 6-6), which is VocALign’s mapping of the Dub track’s energy pattern (shown orange) to match that of the Guide. A rendered version of the aligned audio is now available in the Aligned track. You can check the alignment and make any adjustments to the material and settings at this point, pressing Align again to render a new version.
TIP: You can turn off the energy display if you wish, by selecting ‘Not Displayed’ in the Energy Display menu.
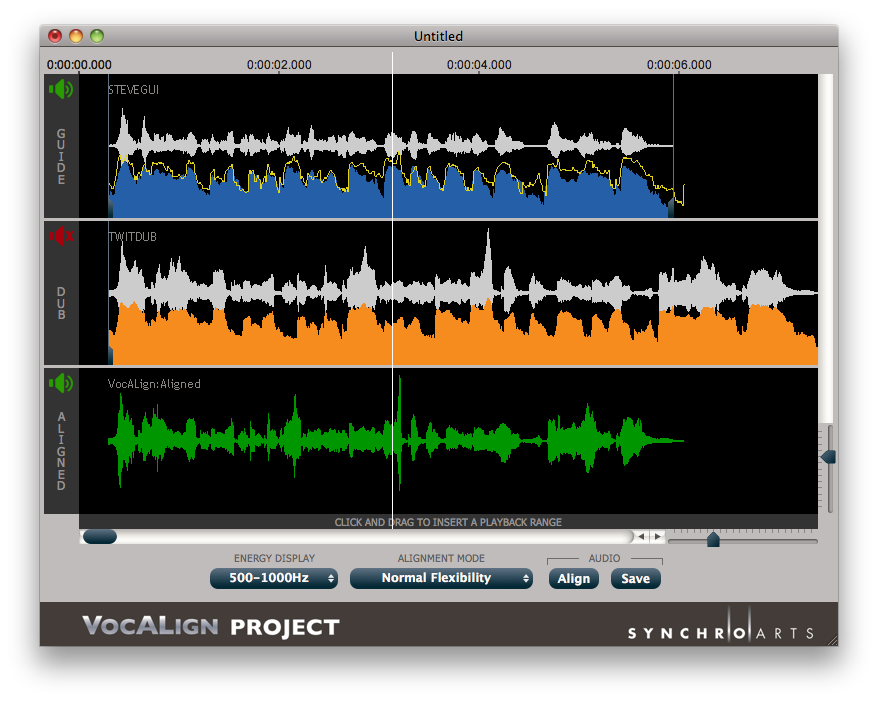
Fig. 6-6 VocALign display after pressing 'Align' showing energy patterns of Guide and Dub tracks in blue and orange respectively. The yellow line shows the alignment of the Dub energy to that of the Guide. The Green waveform in the Aligned track at the bottom is the rendered aligned audio.
Step 9 Play the aligned audio
Once the alignment process is completed you can hear the results by pressing the space bar to play audio (having moved the time line back to the start). Enable the tracks to be auditioned by clicking the loudspeaker icons or using keyboard shortcuts. Replay is also stopped by pressing the space bar.
TIP: The keyboard shortcut ‘e’ enables the Guide and Aligned tracks together, so that you can hear the processed Dub track together with the original Guide.
(If you left the start and end pointers unaltered before editing, the laugh at the end of the tutorial Dub audio will still be audible. You can move the Dub’s end marker so that its end point is before the laugh starts, then press Align again. This will eliminate the laugh from the processed version.)
TIP: You can set a playback time range by dragging the cursor in the area below the aligned track to create a yellow-highlighted region, as shown in Figure 6-7. The ends can be dragged to adjust start and stop locations. The playback range can be deleted by right clicking in the region and selecting delete from the popup menu. Dragging in a different area will delete the old selection and create a new one.
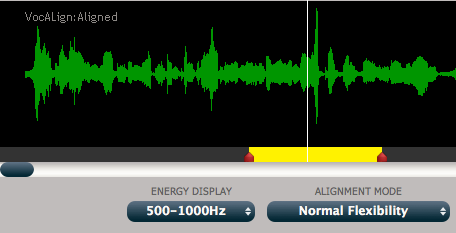
Fig. 6-7 Dragging a region in the area below the Aligned track creates a playback region, shown in yellow. The red markers can be adjusted.
Step 10 Making adjustments after rendering
If you make any adjustments to the settings, timings or start/end points after the aligned audio has been rendered, a red line will appear above the Aligned audio track to show that it needs to be re-rendered. (See Figure 6-8.) Press Align again to render a new aligned track. Alternatively, this will be done automatically if you play or save the aligned audio.
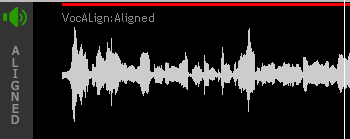
Fig. 6-8 If any settings are modified after rendering, a red line will appear over the Aligned waveform to show that it should be re-rendered
Back to Index
Step 11 Save the aligned Dub
In order to save the rendered output track (the aligned version of the Dub), press Save in the VocALign window to bring up the standard Save… dialog box. By default the saved output file will be named with the letters 'VA_' before the original name of the Dub file, but you can name it whatever you like.
The format of the saved audio file is automatically the same as that of the Dub track’s audio.
TIP: The Save… option in the Mac File menu can be used to save a VocALign ‘session’ of the alignment project in question. This cannot be used to save audio files, which can only be done using the button in the VocALign window itself.
