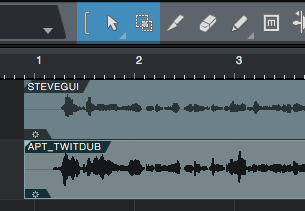
Quick Operation with Studio One
From versions 3.3 of Revoice Pro and 3.3.2.4 of Logic Pro, there are new, faster ways of capturing and processing audio. We will call these "Quick APT, Quick Doubler and Quick Warp for Studio One". For the basic, more universal ways of capturing audio, see Importing and Exporting Audio.
How do the new Quick modes work?
In this high-speed simplified workflow, you select the regions to be processed in Studio One, then paste them using a special function into Revoice Pro. Tracks, Groups and basic Processes are created automatically, and you can then tweak the settings for APT, Doubler or Warp operations as you wish. You then copy either selected or all process outputs using a special function and paste them back into the Studio One session at the original positions.
Capturing audio
Select the regions to be captured in Studio One either by...
(a) Clicking the first region, and shift-clicking subsequent ones (the first to be selected bcomes the Guide, the rest the Dub tracks).
(b) Highlighting the regions by dragging across them (the top track becomes the Guide).
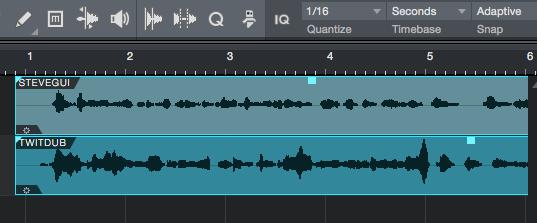
In Studio One, Copy the selected regions to the Clipboard
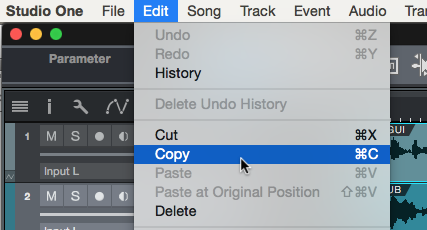
Apply a Process
Paste the regions into Revoice Pro using the special Paste - Quick APT/Doubler/Warp function in the Revoice Pro Edit menu. In this case Quick APT is chosen.
Keyboard shortcuts are: Quick APT (Cmd + Shift + A), Quick Doubler (Cmd + Shift + D), Quick Warp (Cmd + Shift + W). (Cmd = ctrl for Windows.)
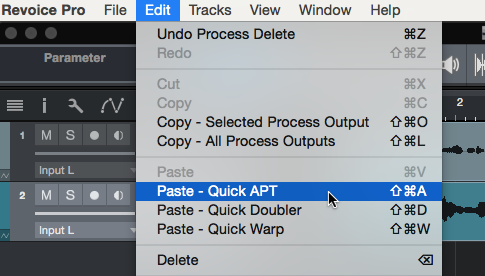
The regions appear in Revoice Pro tracks, and the processed tracks are automatically created with basic settings.
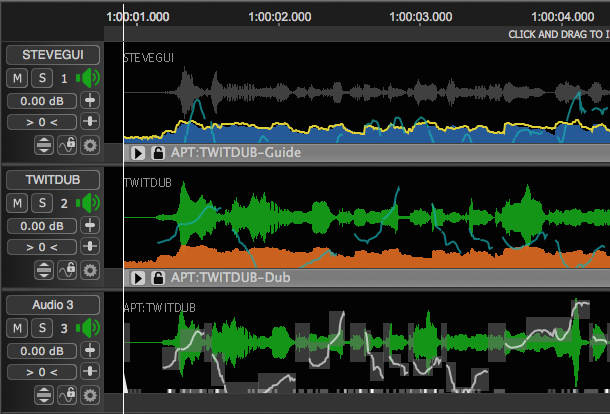
You can now adjust the settings of the processes if you wish, as explained in the APT, Warp and Doubler chapters.
Transfer the audio back to Studio One
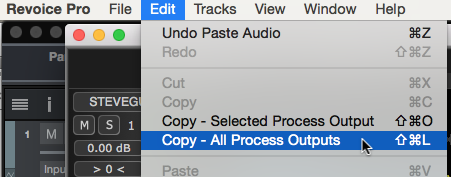
Once you are satisfied with the sound of the process, in Revoice Pro Edit menu, Copy - All Process Outputs (to transfer everything processed in Revoice) or Copy - Selected Process Output (to transfer only the process you have selected).
Keyboard shortcuts are Cmd + Shift + L or Cmd + Shift + O respectively.
In Studio One, use Paste at Original Position in the Edit menu to put the processed audio back into the Dub tracks, starting at the original time.
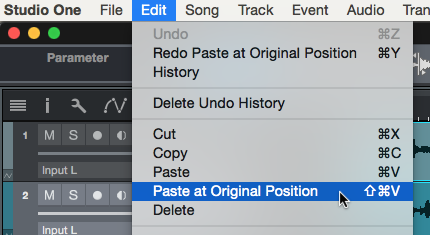
The name of the processed region has "APT" (in this case) before it to denote that processing has been applied. (Note that the original regions will still be there underneath the pasted processed versions, so you may need to delete them if they extend beyond the boundaries of the processed region.)
